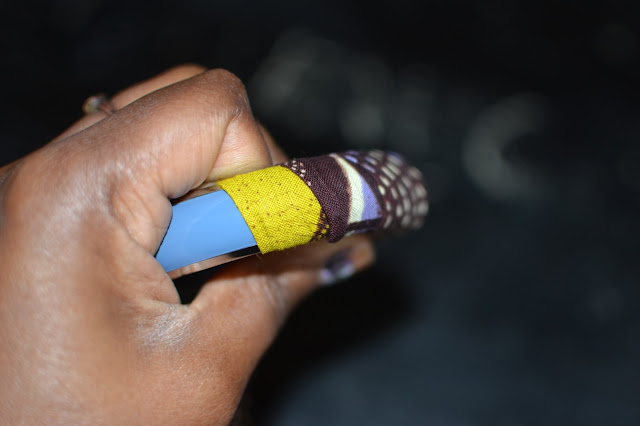
I'm revisiting wax prints, I've always loved the versatile fabric and bold textiles but I usually use the fabric for headwraps, but decided to upcycle some old bangles by covering them with fabric I brought from The Sheabutter Cottage. It's an easy way to update your accessories, it's cost effective and fun!
N E E D E D
Strong adhesive, I prefer a glue gun you can pick them up pretty cheap from craft shops
Scissors
Old or cheap bangles
Strips of fabric about 40cm long
- Cut your fabric into strips, I cut mine at about 40cm long, don't worry if it is too short as you can add more
- Hem your strip of fabric, fold the fabric in on itself and stick roughly with glue gun. This prevents fraying edges
- Use your adhesive to secure your hemmed strip of fabric to the inside of your bangle
- Once secure, wrap fabric around the bangle, make sure you pull the fabric tautly (see below)
- Finally secure the end of your fabric with adhesive make sure you glue to the inside of the bangle, if you have left of fabric neatly trim off the ends
And it's as simple as that! Be sure to stack them so they make an impact! and mix up your prints, You can get scraps of fabric from some haberdashery's for free if you ask for samples.
 |
| Collection of DIY & brought bangles |


{ 0 komentar... read them below or add one }
Posting Komentar