Ever since I quit my job to stay at home to look after the kids, I have been treating the scores on their report cards as my annual performance review. Any favourable comments from teachers on my children's behavour and conduct in school, plus whatever little achievements they have accomplished for the year will be treated as bonus points. Of course, I won't be penalised if they don't do well in their studies, neither will I get a fat bonus or increment if they have achieved excellent academic results. Not that I am expecting any rewards in return, but their academic performance is the only way for me to judge whether I have done my part as a stay-at-home-mum. If they don't do well, I will feel that it is my fault. I know, it sounds silly, but, for the time being this is the only yardstick for me to evaluate whether I have put in my best effort to guide my children. It also serves as a warning sign, if they don't do well, I better cut down my time spent on the blogosphere ;)
Ok, enough of ranting, let me bring you to my recent bake...
Well, I hope you won't get bored with yet, another chiffon cake post! I can't help but to share with you this not-so-clear image of the cake baking in the oven. The cake ballooned as the clock ticked away...it made my ego swell at the same rate as I watched the cake rose and bloomed nicely.
In the midst of helping my younger child to prepare for his exams, I am also trying my best to clear away as many ingredients as possible since we will be away during the school holidays. I finally put my hands together to make this Sakura Chiffon cake as the preserved sakura and sakura paste my dear cyberfriend VB gave me many months back was near expiring.
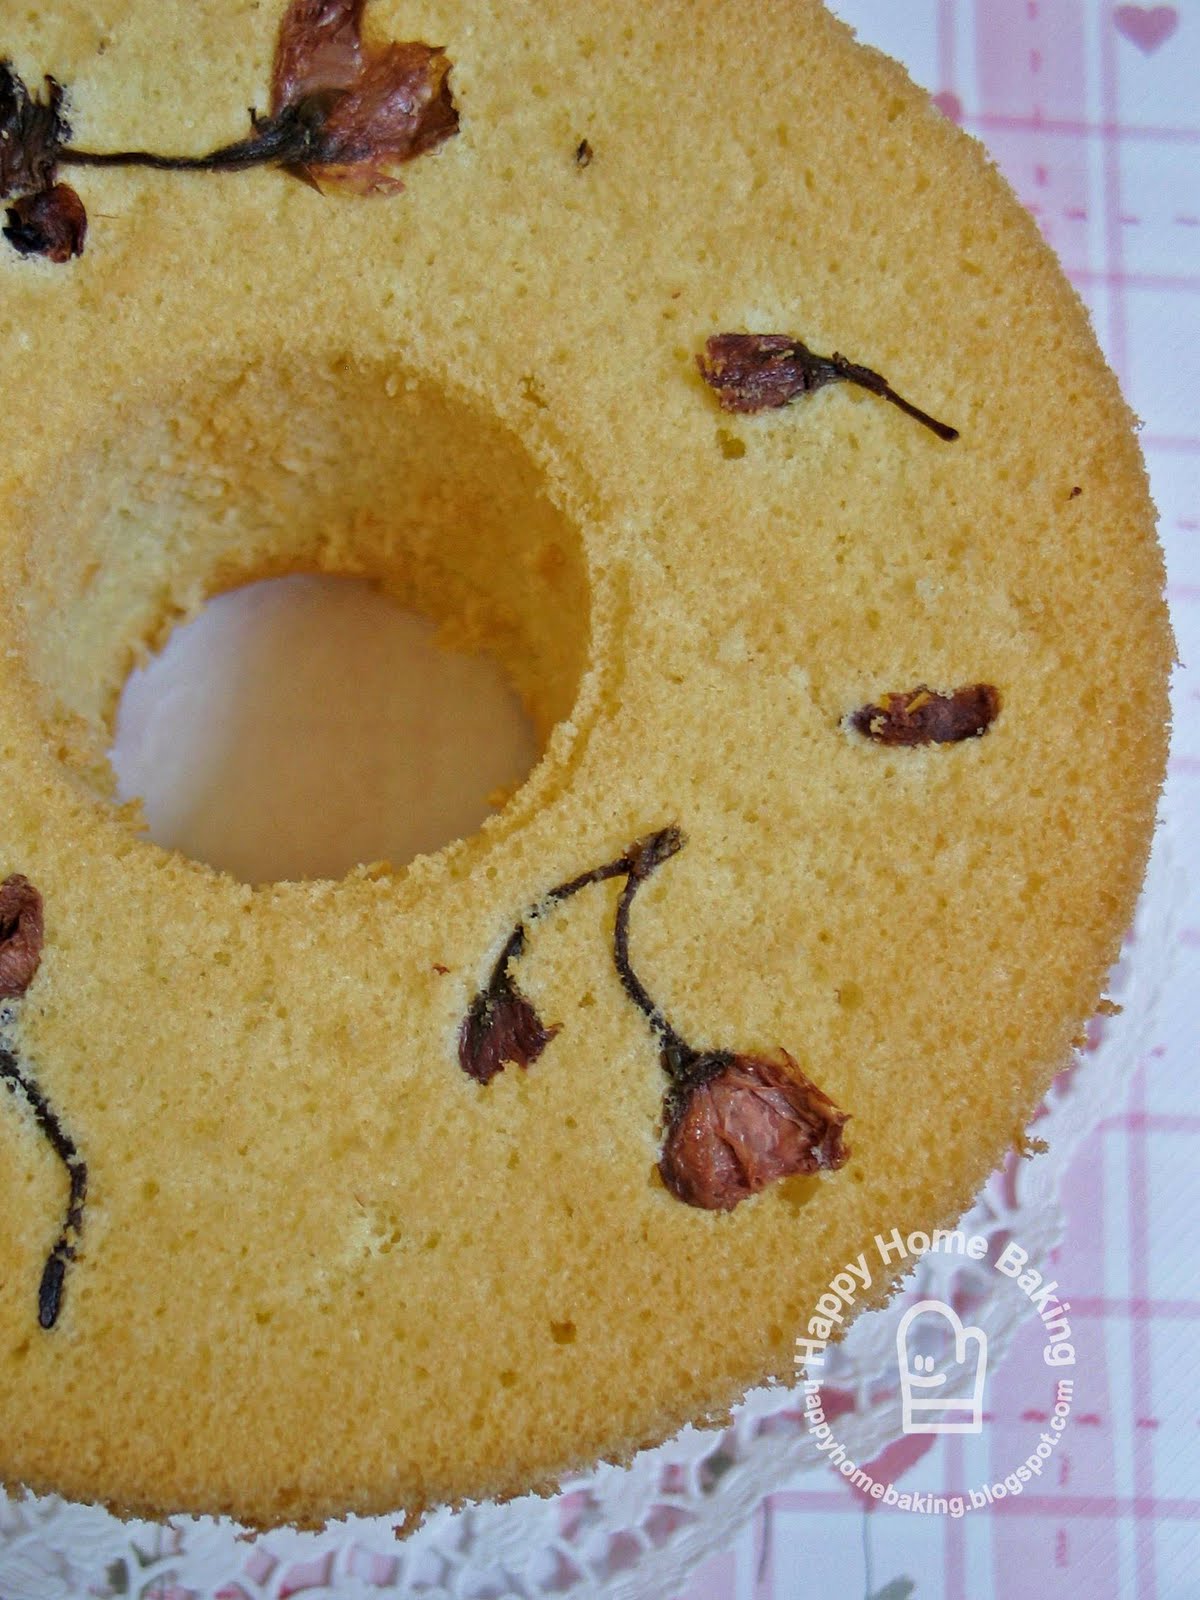
The sakura flowers were preserved with salt, but even though I soaked them for 30mins, the petals still tasted a little salty. Don't ask me how does sakura smell like...I wasn't able to detect any floral fragrant, not during baking or when the cake was left to cool. Except for the slight salty taste (not the salted fish or salted vegetables kind of salty), the cake tasted like an ordinary sponge cake, or 鸡蛋糕. Sad to say, the sakura paste or sakura essence, did not add any flavour to it, it did not even add any colour to it. I had imagined that the pinkish essence would turn the batter into a nice pinky batter...but no, it has no effect at all :(
Although I was quite disappointed with the sakura, I did manage to learn something from this bake. I have actually made two chiffon cakes, the first one was meant to be a trial. With the lesson learned from the first attempt, I baked the same cake again and gave it away.
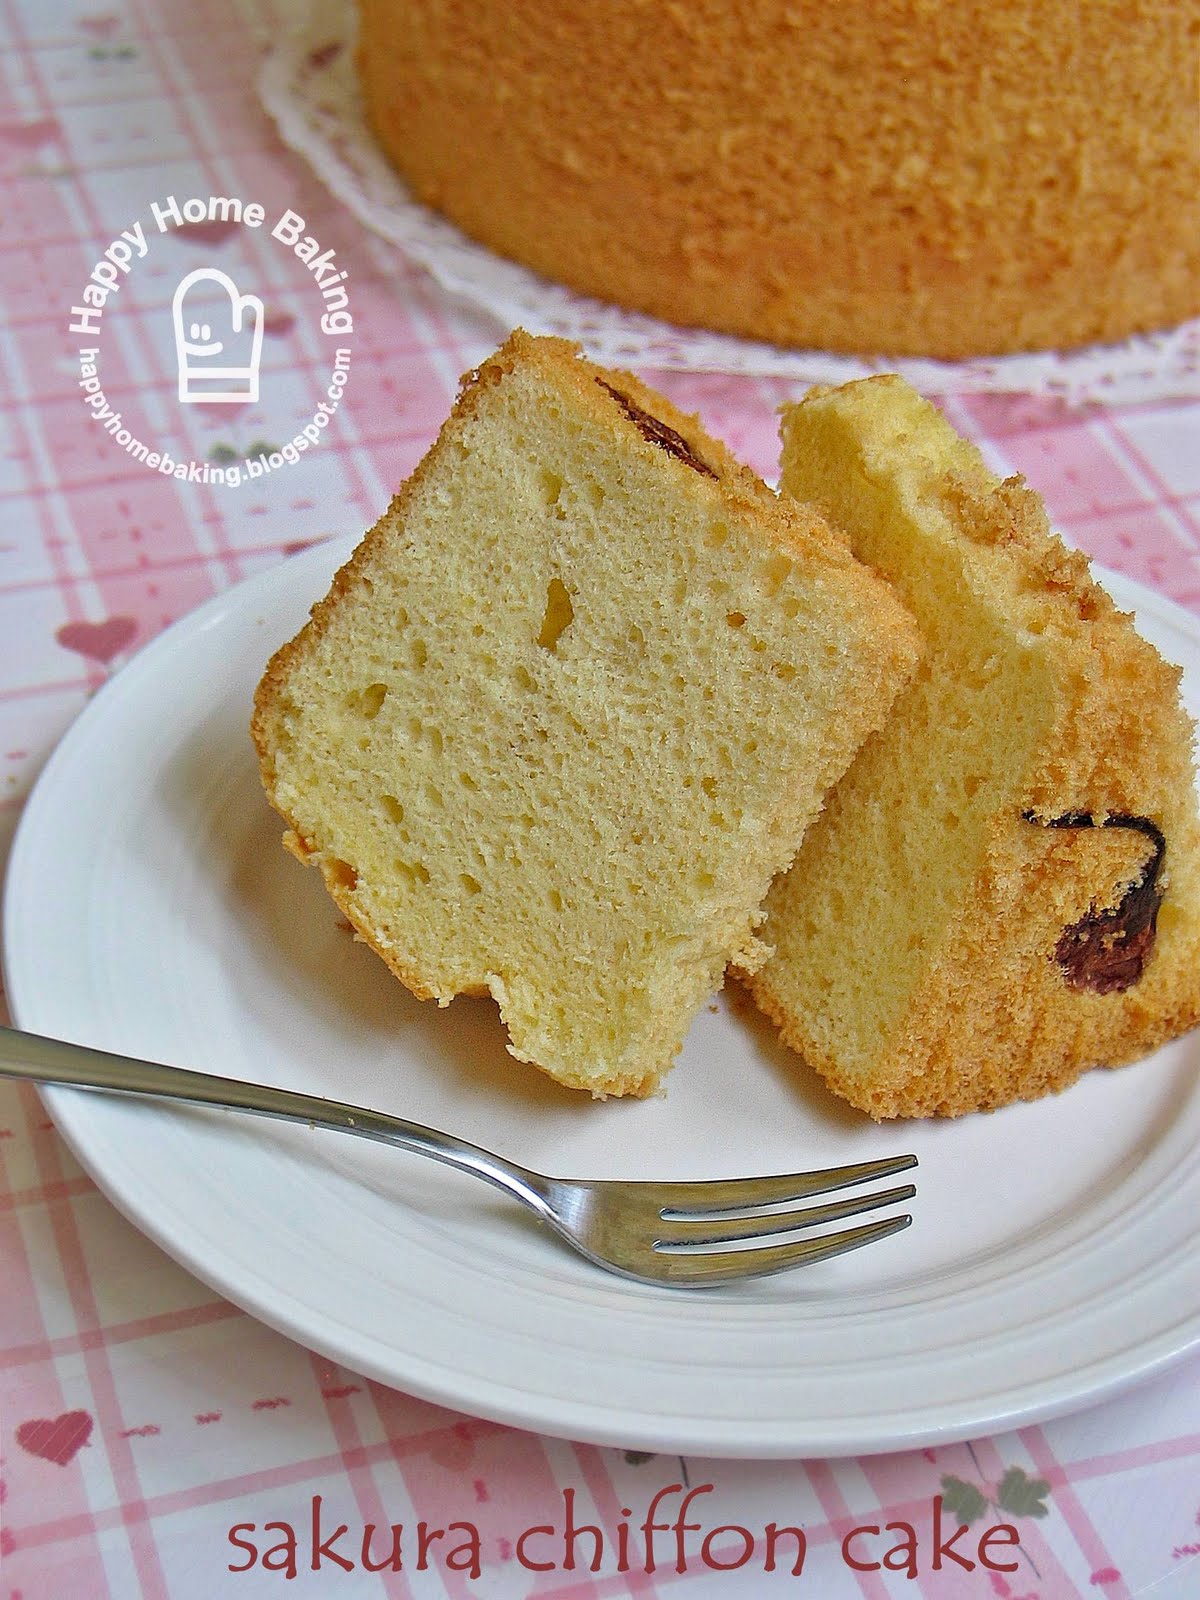
For the first cake, I followed the ingredients amount as stated in the recipe, ie 50ml vegetable oil and 50ml water. However, I noticed the yolk batter was quite thick, and I deflated the whites a little while trying to mix the two together. The finished cake was not as airy or fluffy as the fruit tea chiffon I made earlier. I compared the two recipes and decided to change the water-oil amount. So, for the second sakura cake, I used 40ml oil and 60ml water, just like the fruit tea chiffon. The yolk batter was not as thick, and I could fold in the whites easily. The second cake rose tall and mighty. Even though I wasn't able to taste it, I am confident that the texture would be quite similar to the fruit tea version.
These slices were from the first cake...the texture was not as moist and tender as the fruit tea ones, mainly because I have deflated the whites. If I ever have the chance to make this again, I will likely add matcha powder to enhance the flavour.
Nevertheless, it was another good baking experience for me...at least now I know, the petals that were lined on the base of the tube pan would remained intact, they were not buried or covered by the batter. Without using any special tools or taking extra care, I didn't even rid them off while I was unmoulding the cake from the pan. Till now, I still find this rather amazing!
Sakura Chiffon Cake
Ingredients:
(for 7" tube pan)
3 egg yolks (use large eggs*)
20g caster sugar
40ml vegetable oil (original recipe use 50ml)
60ml water (original recipe use 50ml)
1 teaspoon sakura paste (original recipe use dried sakura leave powder)
80g cake flour
4 egg whites (use large eggs*)
50g caster sugar
some preserved sakura
(*I used eggs with a nett weight of 55g, about 20g yolk, 35g white)
Method:
- Rinse the preserved sakura to remove any excess salt. Leave to soak for 30mins. Drain and pat dry on paper towels. Line the dried sakura petals on the base of a 7" chiffon tube pan. Set aside.
- Sieve flour and set aside.
- Place egg yolks in a mixing bowl. With a manual hand whisk, whisk the yolks a little. Add in sugar and whisk to combine.
- Add in vegetable oil gradually, whisk to combine.
- Add in water gradually, whisk to combine. Add in sakura paste, whisk to combine. Sieve over the flour and whisk till the flour is fully incorporated. Do not over mix. Set aside.
- In a clean, dry mixing bowl, beat egg whites with a handheld electric mixer on low speed until mixture becomes frothy and foamy. Add half of the sugar amount and turn to high speed and beat the mixture. Continue to add in the remaining sugar and beat until the egg whites reaches the soft peak stage.The soft peak stage is reached when the peaks of the whites curl over and droop slightly. The egg whites should appear smooth and glossy. (Do not over beat the whites still stiff, it is better to beat the whites still soft peaks for easy folding with the yolk batter.)
- Add the beaten egg whites into the egg yolk batter in 3 separate additions, each time folding gently with a spatula until just blended.
- Pour batter into the prepared pan (do not grease the pan). Smooth the top with a spatula if necessary. Tap the pan lightly on a table top to get rid of any trapped air bubbles in the batter. (Note: the finished batter should be thick and airy, and should be able to fill up the pan to about 90% full or not less than 2cm below the rim)
- Bake in pre-heated oven at 180 degC for 30 mins, or until a toothpick inserted into the centre comes out clean, when lightly pressed the cake will spring back. Invert the pan immediately and let cool completely before unmould. To remove the cake from the pan, run a thin-bladed knife or a off-set spatula around the inside of the pan and the center core. Release the cake and run the knife/off-set spatula along the base of the pan to remove the cake.


{ 0 komentar... read them below or add one }
Posting Komentar